


Ebike Tire Repair: Tubed and Tubeless Tires
January 6, 2023
In short, flat tires suck. Whatever mode of transport you may be using, flat tires suck. If you get a flat tire on your ebike you may be lucky enough to be close enough to home that you can wheel your ebike there. You may also be lucky enough to be on a road where someone can come and retrieve you and your ebike. But, more often than not, these things happen when you’re on the trail and too far from help. This requires the knowledge and tools for fixing a flat tire.
Please Note: If you are close enough to walk your ebike home then the tire that is flat must be lifted off the ground for the entire journey. This is because running a tire on its rim can damage the rim and rims are costly to replace!
If the front tire is flat this can be done by pulling the handlebars up, like a wheelie, and walking behind your ebike with the front tire in the air. If the back tire is flat then you will need to use one hand to guide the handlebars and the other to grip and lift the rear of the saddle, lifting the back wheel off the ground, as you walk with your ebike.
There are two types of tires available for ebikes, tubed and tubeless. Tubed tires have a tube inside them that is inflated with air. Tubeless tires use a sealant to seal the bead on the edge of the tire into a groove on the edge of the rim. The tire itself is then filled with air like a car tire is. Both have their pros and cons but we’re not here for a tire-side chat, we’re here to fix flats.
The Tools
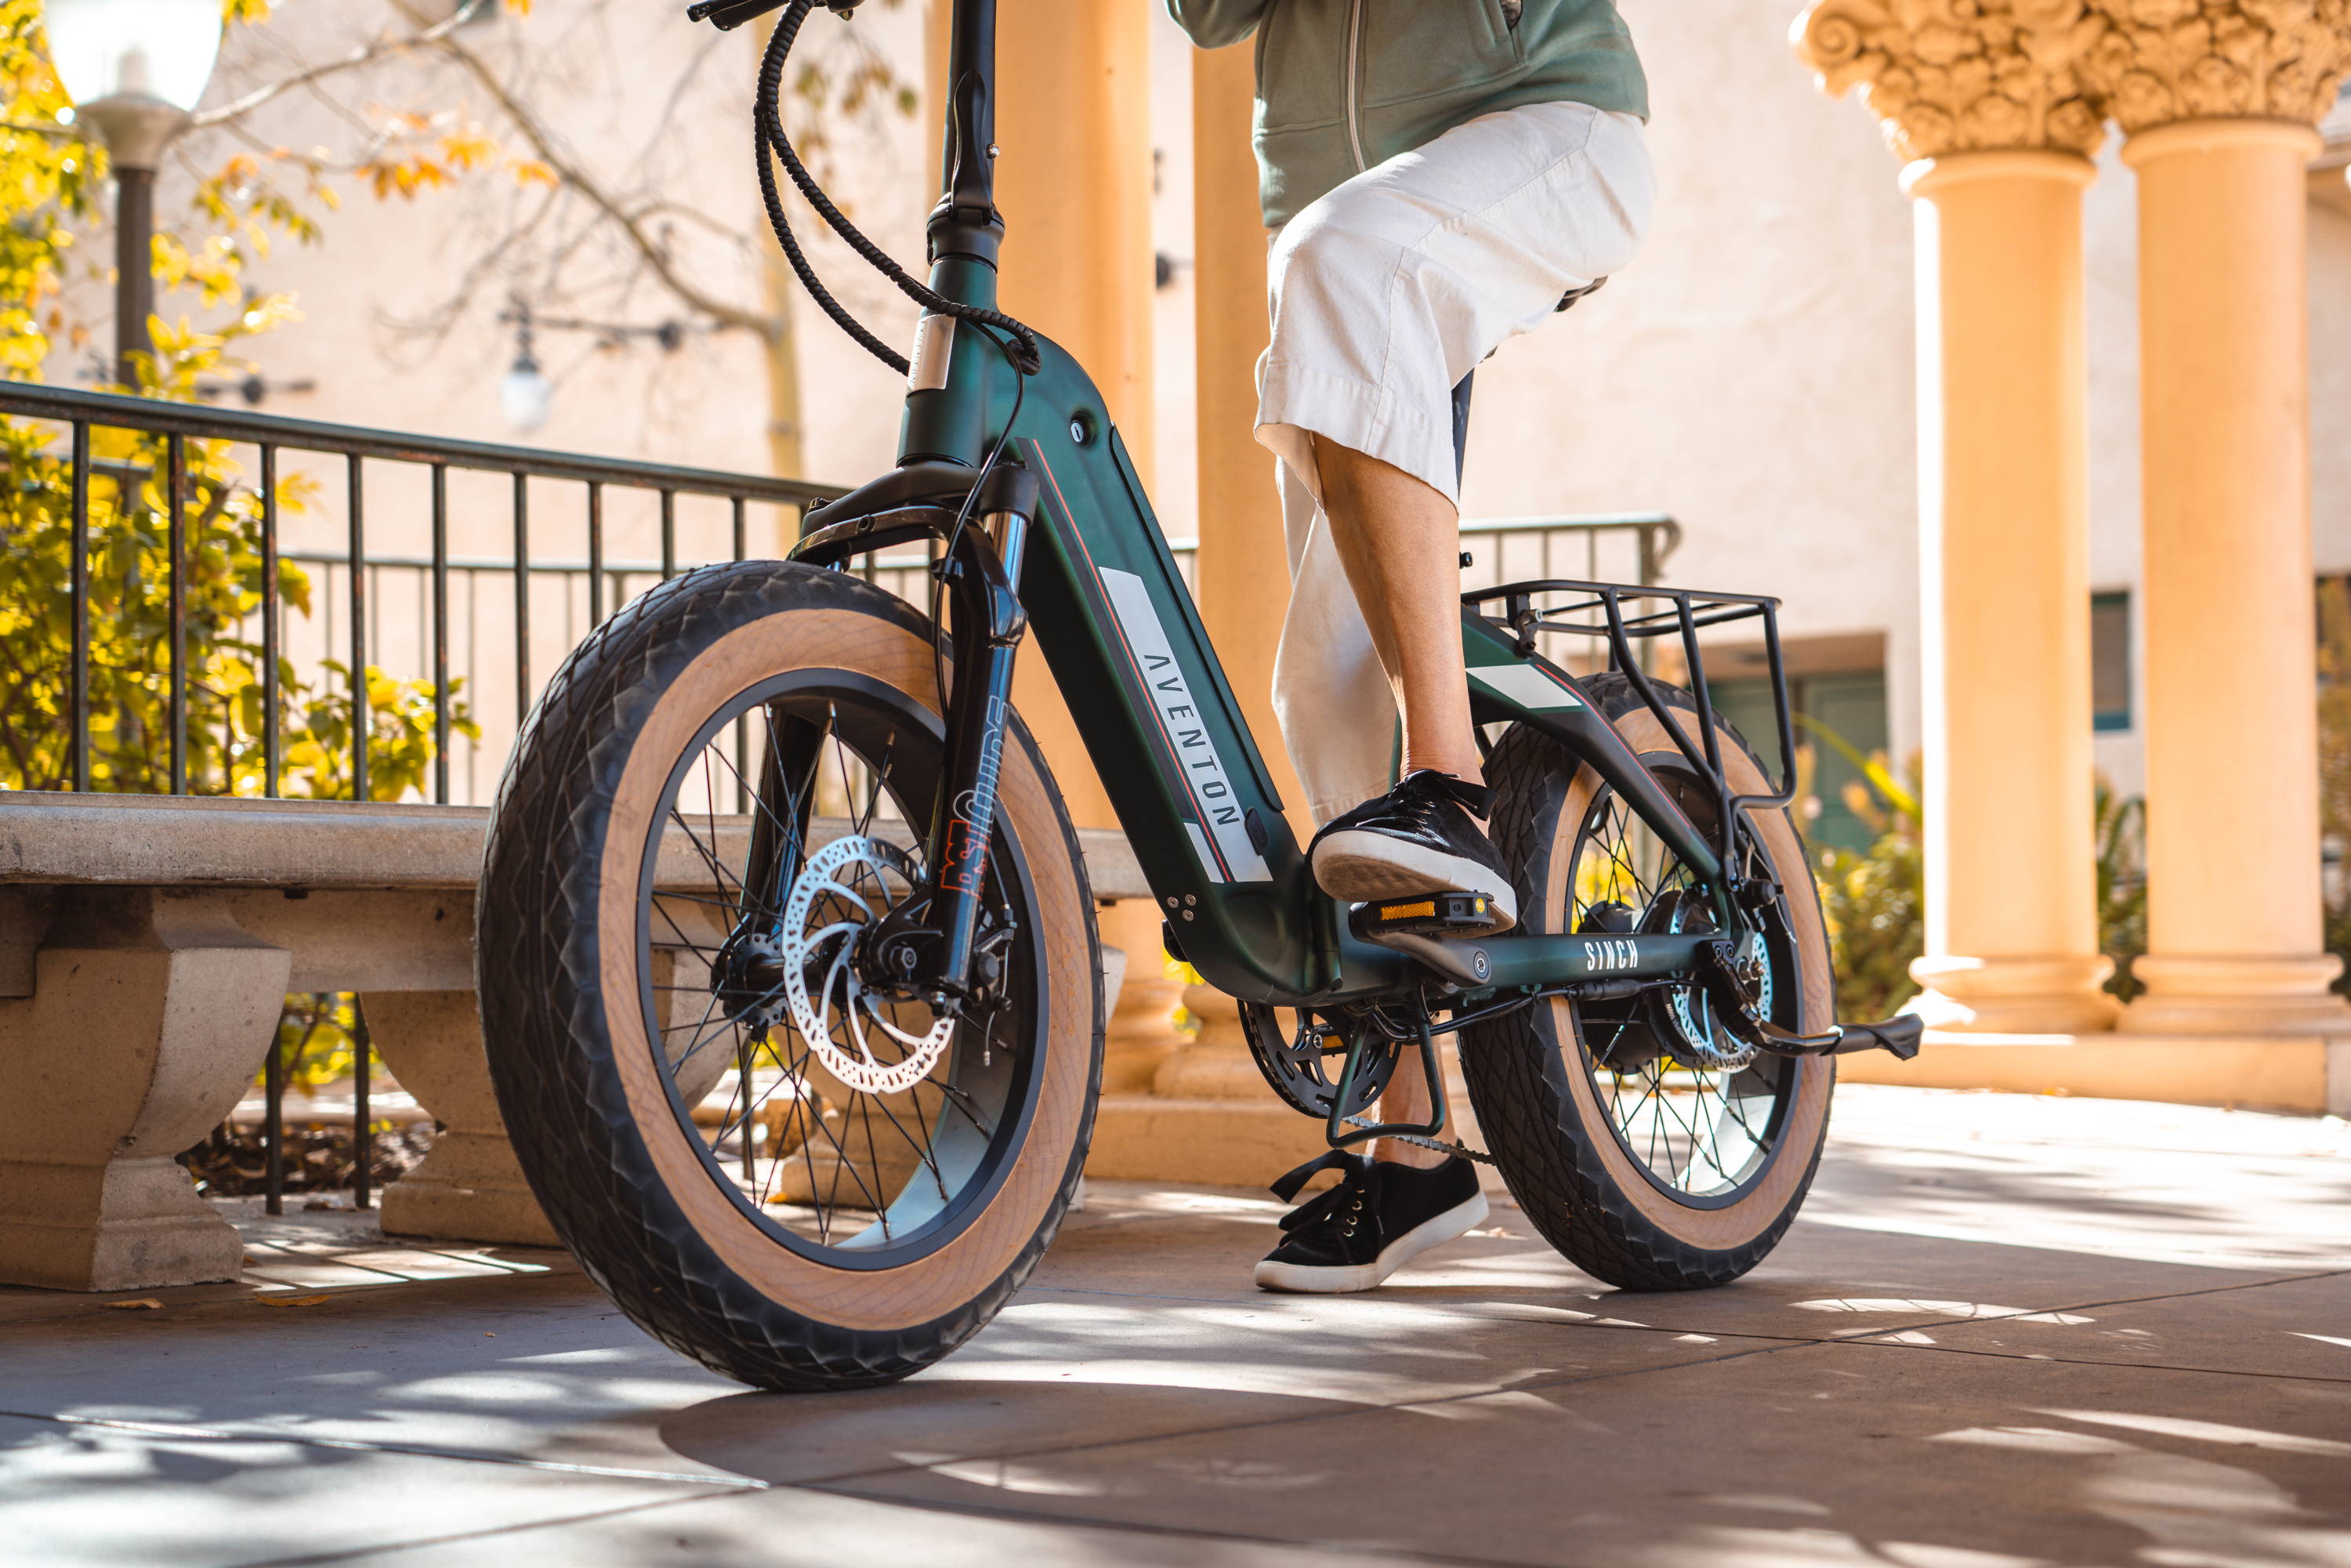
Because there are two different types of tires, there are two different sets of tools, one for each tire type. Whichever type of tires your ebike has, all Aventon tires are tubed, you’ll always want to carry the relevant tools with you for when a flat tire happens.
| Tubed Tire | Tubeless Tire |
| Pump | Pump |
| CO2 cartridges and dispenser | CO2 cartridges and dispenser |
| (2 cartridges minimum) | (2 cartridges minimum) |
| Spare tube x2 | Spare tube (a last, yet necessary, resort to get you home) |
| Tire levers | Tire levers |
| Tube patching kit a.k.a Tire repair kit | Tubeless tire patching kit a.k.a Tire plug kit |
| Ebike tool | Ebike tool |
Removing The Wheel
Regardless of the type of tire that your ebike has, the process of removing the wheel from your ebike doesn’t change; although it is slightly different for front and back tires.
Please Note: Turning your ebike upside down makes this whole process a lot easier. However, ebikes are cumbersome objects and upending your ebike will require the assistance of another person. If you can turn the ebike upside down then remove the screen and controls first so these important elements of your ebike don’t get damaged. If you’re unable to upend your ebike then it can be done on your own however the help of another makes the process infinitely easier.
If you have tubeless tires it is highly possible that this process is not necessary and that the tire can be fixed whilst the wheel is still attached to your ebike. This is providing that it is a puncture and that the tire hasn’t separated from the rim (if you have tubeless tires head to the next section of Finding The Puncture to find the puncture, then onto Repairing a Tubeless Flat to fix your flat without having to removing the wheel).
Brakes - There are two types of brakes on ebikes: disc brakes and rim brakes. Rim brakes are located at the top of the tire and pinch the rim when pulled, disc brakes are located on the center hub of the tire and they turn with the tire and are pinched by pads. You need not do anything if you have disc brakes. If you have rim brakes then pinch them together and pull the metal “noodle” out of the metal quick release that holds the end of the noodle. This will allow the tire to slip through the brake.
Releasing The Wheel - There are two ways an ebike wheel is held in position, a quick release clamp or bolts. All Aventon ebikes, except the SINCH, use quick release clamps.
- To remove quick release clamps simply pull the lever away from the frame as far as it will go then give the nut on the other side a few turns.
- If your tire is held on by two nuts, use a wrench or socket, good ebike tools will come with a wrench or socket for this size nut, and crack the nuts. Next give each but a couple of turns with your finger to loosen them enough to pull the wheel out.
Removing a Front Wheel - Once the wheel is released simply pull the tire up and out of its position. If your ebike is not upside down, use one hand to grasp the middle of the handlebars and raise the ebike off the ground (another person can do this for you) and use the heel of the palm of your other hand to carefully move the tire out of place.
Removing a Back Wheel - First shift into the highest numbered gear on your ebike, which is the smallest sized cog. This will give you the most slack in your chain. Next, locate the motor cable connection and very carefully disconnect it. There may be axle bolts on both sides of the rear wheel, if so, remove the axle cover from the driveside bolt then loosen the nut on the ends of the axle. To move the derailleur out of the way, push it backward so that the chain can lift away from the cog, but do not let go of the derailleur. Using your other hand, then remove the wheel from the dropouts, finally resting the derailleur.
Disclaimer: For Aventon ebikes with hydraulic brakes, do not press the brake lever once your wheel(s) is removed and the brake rotor is no longer between the brake pads. Pressing on the brake levers will cause the brake pistons to close, requiring extensive machinery to reopen. Fully closed brake pistons run the risk of brake damage.
Finding The Puncture
Searching for a small hole in a tire can be like searching for a needle in a haystack but a little bit of pragmatism can help you find it relatively quickly. Note that if you have a tubed tire it can be easier to complete this process with the tube removed, but doing it this way also helps you find the culprit if it’s still stuck in the tire.
Listen - If the tire has no pressure in it then add some air until it has some pressure. Listen for the telltale hissing sound of air escaping; you may have to squeeze the tire gently to force the air out. Hold your ear close to the tire and rotate it until the hissing is closest to your ear. Here you might be able to see the puncture if you can’t then head to the next step.
Look - Spray some water from your water bottle onto the area where the hissing is coming from, squeeze the tire and look for air bubbles. This will help you pinpoint the puncture.
Mark - Some puncture repair kits come with a little white pen or piece of chalk for marking a puncture. If you have one, dry off the site and clearly mark the puncture site so you can easily find it again. This is going to make re-discovering the puncture much easier.
Repairing a Tubeless Flat
Tubeless tires have a sealant inside them which instantly patches up the holes of many punctures. So you may have had punctures before and not even known it! Sometimes this sealant might just need a few minutes to do its job so if you can locate the puncture then rotate the tire so the puncture is at the most downward point and wait a few minutes. Try putting air back into the tire and see if the puncture is sealed. If it isn’t then you’re going to need to repair it manually.
Please Note: If the tire has come unseated from the rim and you have no sealant on hand, or just don’t want to create a mess with messy sealant on the side of the road then putting a tube in the tire is the only way home. CO2 can be used to “blast” it onto the rim as the force of the CO2 entering the tire blows it up quick enough that it can seal back onto the rim. If you want to try this then the first thing you need to do is plug the hole.
1. From your tire plug kit get the plug insertion tool and a plug that fits your puncture. Insert the plug halfway through the plug insertion tool, much like threading a needle.
2. Insert the tool all the way into the puncture hole until there are two small pieces of the plug left hanging out. Be careful not to push too hard or too far as you could puncture the rim tape on the rim of the tire and compromise the tubeless system.
3. Use your fingers to hold the two pieces in place whilst you carefully twist and remove the tool from the tire. This will leave the plug in place.
Puncture fixed! The sealant and the plugs will work in tandem to plug the holes and all that’s left to do is fill the tire with air and get back on the road. The two loose ends of the plug can be clipped if you wish however they won’t affect your riding and will wear down as you ride.
If you do this and the puncture returns when you get back on your ebike -quite rare- then maybe the tire is more compromised than previously thought and you need to put a tube in it instead. This involves removing the wheel, see Removing The Wheel above, and then removing the tube (see first part of Repairing a Tubed Tire below to take the tire from the rim, then continue to the Inserting a Tire Tube section).
Repairing a Tubed Tire
Repairing an inner tube means that you first have to remove the wheel from the ebike. Once this is done you can find the puncture (see above for how to do both of these). Once you’ve found and marked the puncture you need to remove the tire, to do this follow the steps below:
1. Remove any air from the tire; this makes it much easier to remove. If you have a Schrader valve, the same one your car has, then remove the dust cap and press on the valve in the center whilst squeezing the tire to deflate it. If you have the thinner, often metal, Presta valve then remove the dust cap, twist the tip of the valve counter-clockwise and press down on it to release the air inside.
2. Next take your tire levers and, starting opposite the valve so as to avoid damaging it, insert the tapered edge of the tire lever into the space between the tire and the rim and pull it downwards. The tire lever should have pulled a section of the tire over the edge of the rim. Most tire levers have a “hook” style mechanism on the other end to connect it to a spoke and hold it in place. Do this now.
3. Take your second tire lever and insert it the same way you did the first, a few inches further around the tire. Pull this downward until more of the tire pops over the rim. With one hand holding the tire still and the other holding the lever push the lever around the edge of the tire. It should come out of the rim and over the edge of it. Once a good portion of the tire is free you can continue using the lever or use your finger.
4. Once the tire is straddling the rim, find where the valve is. Peel back the tire back from the rim at this point so you can see inside and push the valve up through the rim; being careful not to damage the valve in the process. Once the valve is out simply go around the tire pulling the tube out between the rim and the tire making sure that you note where you marked the puncture beforehand.
5. Now you have the tube out, find the spot of the puncture and mark it. If the tire is punctured because where the valve attaches to the tube is either worn or ripped then the tube needs replacing. If you can’t find the puncture, re-inflate the tube and repeat the steps in the Finding The Puncture section.
A puncture repair kit will often have two types of patches in it, each of various sizes. These two types of patches are glued and glue-less. Glued patches work like a bandaid, peel and stick, glueless patches require the application of a vulcanizing glue, which is found in the repair kit, and creates a much stronger bond. Here is the process for applying both types of patches.
1. Use the metal file, sandpaper, or emery cloth that came in your puncture repair kit to clean and rough up the area around the puncture so the patch sticks more effectively. Use your fingers or a cloth to rub the remanence of your sanding from the tube.
2. If you’re using a glued patch, then remove the cover covering the sticky side and press it firmly over the puncture with the puncture in the middle. Now you can skip to the next section. If you’re using a glueless patch read on!
3. Find the correct sized glueless patch for your needs and apply glue to the area around the puncture hole. Wait until the glue gets tacky and then firmly apply the patch, holding it in place with pressure for 30 seconds.
Now you’re ready to return the tube to the tire.
Inserting a Tire Tube
If you have a tubeless tire and are using this part of the guide to place a tube in it then you need to first remove the valve to allow for the valve of the tube to come through the rim. The valve is attached with a nut that tightens down over it. Remove this nut and pull the valve back through the rim of the wheel, making sure that you remove gaskets out with it. Keep these parts safe because you’ll need them when you want to convert your tire back to its tubeless state.
1. The tire should still be straddling the rim from when we removed the tube. If it’s not, pull one wall of the tire over the rim so it straddles the edge.
2. Next pump some air into the tube so that it takes shape, but isn’t rock solid, if there’s too much air in the tube inserting it can be unnecessarily difficult (adding this air is to ensure that the tube doesn’t get pinched between the tire and the rim).
3. Find the valve on the tube and the valve hole on the tire rim. Peel the tire back and insert the valve through the hole carefully making sure that it is as straight as possible. Next thread the rest of the tube inside the tire.
4. Starting at the point of the tire opposite the valve push the edge of the tire, the “bead”, inside the wheel’s rim. Working outwards in opposite directions with your hands work the bead inside the rim as you go. This will get harder as you get closer to completing the process. If you can’t complete it with your hands and fingers then use a tire lever -inserted between the tire and the rim where you’ve already managed to get the tire over and onto the rim- to complete what is left.
5. Ensure that the tube isn’t caught between the tire and the rim by looking down between them on both sides.
Inflate the tire slowly, continually checking that the valve remains straight and intermittently checking that the tube isn’t caught between the tire and either side of the 6. rim.
7. Inflate the tire to the manufacturer's recommended pressure and you’ve fixed your flat!
Replacing the Wheel
To replace the wheel we follow the opposite of the steps we took to remove it. Here’s a run down of how to replace both the front and back wheel.
There is an axle that runs through the middle of the wheel -that has your quick release clamp or nuts on it- which needs to be slotted into the “dropouts”, two slots into which this axle neatly fits. If you have rim brakes ensure they are open wide so as to allow the fully pumped up tire to slot between them. If you have disc brakes make sure that, as you’re putting the tire in place, the disc slips into the small gap in the caliper.
Front Wheel - If your bike has a quick release clamp make sure it is fully open. Place the axle snuggly down into the dropouts.
Back Wheel - Line up the axle with the dropouts and use the same method as before to pull back the derailleur to allow ample room for the gears to pass by it. Lower the axle into the dropouts and release the derailleur. Next you need to either close the quick release clamp or tighten the nuts on either end of the axle, depending on the mechanism used on your ebike. Then be sure to properly reconnect the motor.
Quick Release Clamps - Tighten the nut opposite the quick release clamp, but don’t fully tighten it. Pulling the quick release clamp closed should be quite easy and it should close all the way; as you get toward the end of the close you should feel it tighten.
If it doesn’t close fully, loosen the clamp and then slightly loosen the nut on the other side and try again. Do this until it feels tight and secure when closed. If the quick release clamp closes and is too loose then open it, tighten the nut opposite, and try again. Do this until it feels tight and secure when closed.
Nuts - Tighten both nuts equally by hand before reaching for a tool. Next use your wrench or socket to tighten both the nuts all the way, giving each a few turns at a time so as not to pull the tire one way or the other.
Finally, if you have rim brakes, make sure to place the metal noodle back into its quick release to close the brakes back up so they’re ready to use. Now you’re ready to use your ebike! But before you do, make sure to test your brakes.
A Last Word
Although the above seems quite long, fixing a flat is a simple process, the steps themselves just require a detailed explanation that is a little on the heavier side should someone want to learn for the first time. That being said, it is good to practice removing both wheels of your ebike at home before you ever have to do it when you’re on the trail; and this means that when you do have to do it you’re confident of how it is done. You could even practice removing and replacing the tube if you wish.
Now that you’ve got the knowledge to repair a flat make sure that you’re not stuck without the tools. Either keep them in the bag you always take ebiking or get yourself a small ebike framepack, a bag that velcros to the frame of your ebike, so you never have to worry about not having your repair kit with you. But this is all in the hope that you never need it!


 Aventon US
 Aventon CA
 Aventon DE