


Aventon Bottom Bracket
Description
Bottom bracket for cadence sensor models of Aventon ebikes only
Please select your model from the dropdown before adding to cart
What People Are Saying
Customer Reviews
Perfect fit! Thanks to tech support for everything!
Thank you for your positive review! We are thrilled to hear that our product was a perfect fit for you. Our tech support team is always here to assist with any questions or concerns. Happy riding!
Replaced the bottom bracket at about 3000 miles. The bike is quiet again and even pedals easier.
Thank you for sharing your experience with the Aventon Bottom Bracket! We're glad to hear that it solved the noise issue and made your bike ride smoother. We appreciate your feedback and hope you continue to enjoy your riding experience. Happy cycling!
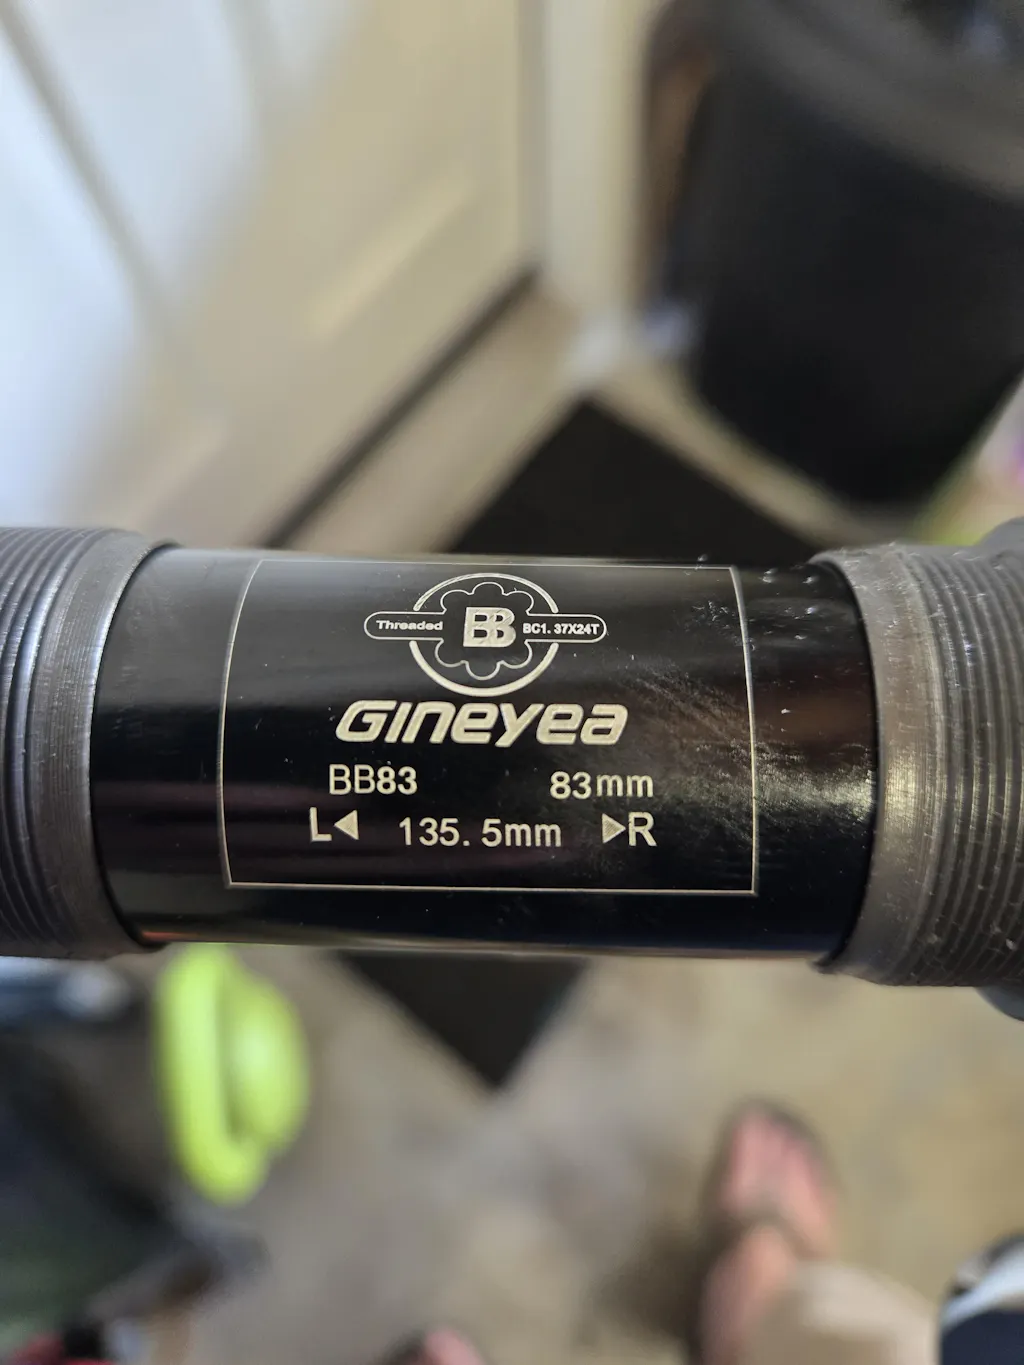
BB83 83mm 135.5mm is the version for pace 500.2
Great bracket, best part was that I had enough points for it so I got it for free.
Hi there,
Thanks for leaving a review! We're happy to hear that our Aventon Bottom Bracket was a perfect fit for your bike. We always strive to provide high-quality products that meet our customers' needs. And we're glad you were able to get it for free using your points. Enjoy your ride!
Best,
The Aventon team
The bottom bracket fits nicely. It was a little difficult to install due to the sensor cable attached to it. The key was to keep the bottom bracket from turning as you install the cups. I would like to see a different sizes in length. Other than that it fits nicely.
Works great. Thanks
Thanks for the review!

 Aventon US
 Aventon CA
 Aventon DE

